Follow Me On Social Media!
Gluten Free Ladyfingers: Irresistibly Soft and Delightful!
Introduction to Gluten Free Ladyfingers
There’s something truly magical about gluten free ladyfingers that sets them apart in the world of desserts. Imagine these delicate, airy treats transforming into the perfect vehicle for your favorite tiramisu or charcuterie platter—making gluten-free options not only delicious but also surprisingly versatile. Like many of us, I’ve had the challenge of accommodating dietary restrictions while still wanting to indulge in our beloved sweets. This realization led me to experiment with gluten-free ingredients without sacrificing quality or taste.
These ladyfingers are not just for the gluten-sensitive; they appeal to anyone seeking a lighter dessert option that doesn’t skimp on flavor. Why are they so special? Firstly, their airy texture is a triumph of perfect egg whites folded with sugar and a gluten-free flour blend, yielding a lightness that crumbles delightfully on the palate. Additionally, the way they soak up coffee or custard in recipes like tiramisu elevates them from mere sponge to a luxurious ingredient.
When making gluten free ladyfingers, it’s all about the right balance. The key lies in choosing the perfect flour blend—typically a mix of almond and coconut flour or a dedicated gluten-free all-purpose flour. These not only substitute traditional flour but contribute unique flavors and textures. It’s fascinating how such simple ingredients, when combined thoughtfully, can result in a treat that feels indulgent yet is made with mindfulness of dietary preferences.
What’s even more delightful is how easy they are to whip up in your home kitchen! Just imagine the satisfaction of presenting a homemade dessert where every bite speaks to your kitchen prowess and understanding of taste.
So, whether you’re hosting friends, celebrating an occasion, or simply indulging in a sweet treat for yourself, these gluten free ladyfingers will surely impress. They come alive in the company of flavorful companions, making them a timeless favorite that respects dietary needs while remaining utterly delightful.
Key Ingredients for Gluten Free Ladyfingers
Creating gluten-free ladyfingers is a delightful baking adventure that opens a world of culinary possibilities, especially if you have dietary restrictions. Each ingredient plays a vital role in achieving that light, airy texture we all love.
-
Eggs: The stars of our ladyfingers, eggs provide essential structure and leavening. Separating the yolks from the whites is key; the yolks contribute richness while whipped egg whites create those iconic airy layers.
-
Sugar: Granulated sugar is essential for sweetness and aids in stabilization when whipping the egg whites. It’s remarkable how sugar helps to build volume, which results in the lovely texture we crave in our gluten-free ladyfingers.
-
Gluten-Free Flour Blend: A good gluten-free flour mix is crucial. I recommend one that contains a blend of rice flour, tapioca starch, and potato starch for the best results. This combination mimics traditional flour closely in texture.
-
Vanilla Extract: Enhancing the ladyfingers with a splash of vanilla elevates their flavor. It adds warmth and depth, ensuring your creation is not only gluten-free but also utterly delicious.
By focusing on these key ingredients, you’re setting yourself up for success in making exquisite gluten-free ladyfingers that will impress anyone lucky enough to taste them!
Why You’ll Love This Gluten Free Ladyfingers Recipe
When the craving for gluten free ladyfingers strikes, you’ll appreciate a recipe that not only delights your taste buds but also impresses your friends. These delicate, spongy treats are perfect for layered desserts or as an elegant bite-sized snack with coffee. Imagine serving a homemade tiramisu, with each layer showcasing your very own gluten free ladyfingers.
Light and Airy Texture
You may have thought traditional ladyfingers were out of your reach due to dietary restrictions, but not anymore! This recipe ensures that your gluten-free version is just as light and airy as the classic. With the right mix of ingredients, every bite melts in your mouth, leaving you reaching for another right away.
Versatile and Fun
Not just for desserts, these ladyfingers can also be a fun addition to charcuterie boards or even paired with fresh fruit! Their versatility makes them suitable for any occasion — from casual gatherings to more formal celebrations.
Easy Preparation
Making gluten free ladyfingers may feel intimidating, but I promise you, the steps are simple and straightforward. This recipe breaks it down in a way that’s manageable—even for novice bakers. You’ll be amazed at how quickly you’ll whip up a batch of these delightful treats, ready to wow anyone who has the pleasure of tasting them!
Variations
Exploring gluten free ladyfingers opens the door to a world of creativity in the kitchen. These delightful little cakes can be dressed up in numerous ways to suit your taste buds and dietary preferences.
Flavorful Infusions
You can easily infuse your gluten free ladyfingers with various flavors to elevate their sweetness. Consider adding:
- Lemon Zest: A touch of lemon zest in the batter can give your ladyfingers a refreshing citrus kick.
- Vanilla Extract: Instead of plain, try a splash of high-quality vanilla extract for a warm flavor profile.
Chocolate Twist
Have a sweet tooth? Chocolate-dipped ladyfingers are a tempting variation. Simply melt some dark chocolate and dip one end of each cooled ladyfinger, then let them set on parchment paper for a decadent treat.
Seasonal Spices
Why not add seasonal spices to your gluten free ladyfingers? During fall, try incorporating cinnamon or nutmeg into the batter or dusting them with powdered sugar mixed with pumpkin spice.
Fruity Additions
For a fruity surprise, consider layering your ladyfingers in a trifle with fresh berries or slices of ripe peaches. This not only adds flavor but also a beautiful presentation.
Remember, the possibilities are endless, and experimenting with your gluten free ladyfingers can lead to delightful discoveries that you’ll want to savor and share!
Cooking Tips and Notes for Gluten Free Ladyfingers
Creating gluten free ladyfingers is a delightful adventure that ensures everyone can indulge in these airy treats. To make your baking experience smoother and more enjoyable, here are some essential tips and notes.
Choosing the Right Flour
Selecting the right gluten-free flour is crucial for achieving that classic ladyfinger texture. A blend that combines rice flour, tapioca flour, and starch will give you the ideal lightness. Be sure to check the label for any added ingredients that may affect the outcome of your ladyfingers.
Whipping Egg Whites
Perfectly whipped egg whites are the backbone of gluten free ladyfingers. Use clean, dry equipment, and avoid adding any yolks. Whip until stiff peaks form—this will give your ladyfingers that airy rise. Patience is key; take your time to fold the egg whites gently into the batter to maintain volume.
Baking Temperature and Timing
Ovens can vary, so keep an eye on your ladyfingers while they bake. Ideally, they should be golden brown when done. If you notice them browning too quickly, consider lowering the temperature slightly.
Storage Tips
Once baked, allow the ladyfingers to cool completely on a wire rack. They can be stored in an airtight container for a few days but taste best fresh. For longer storage, freeze them between layers of parchment paper.
With these tips, your gluten free ladyfingers are sure to be a hit, making your baking journey both successful and enjoyable!

Serving Suggestions for Gluten Free Ladyfingers
Creating gluten free ladyfingers opens up a world of delightful dessert possibilities! These airy, sponge-like delights can be served in various ways that cater to any gathering or personal indulgence.
Enjoy with Fresh Berries
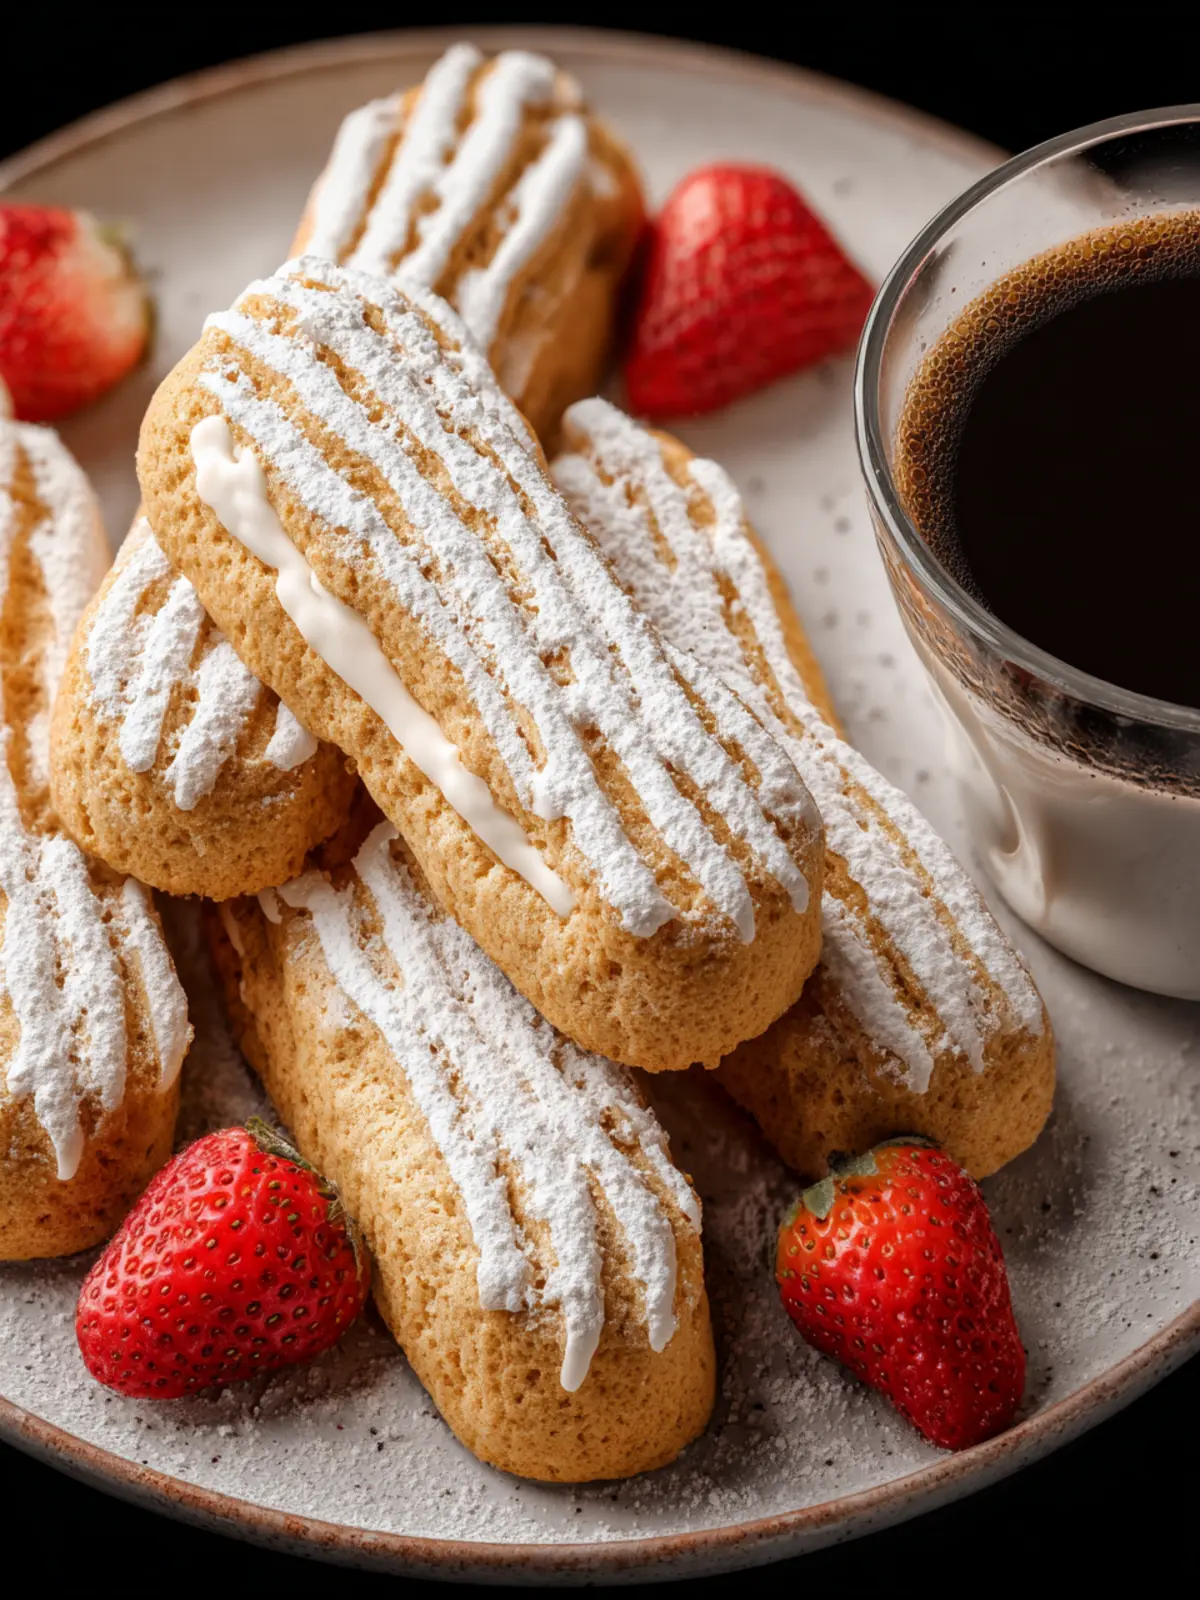
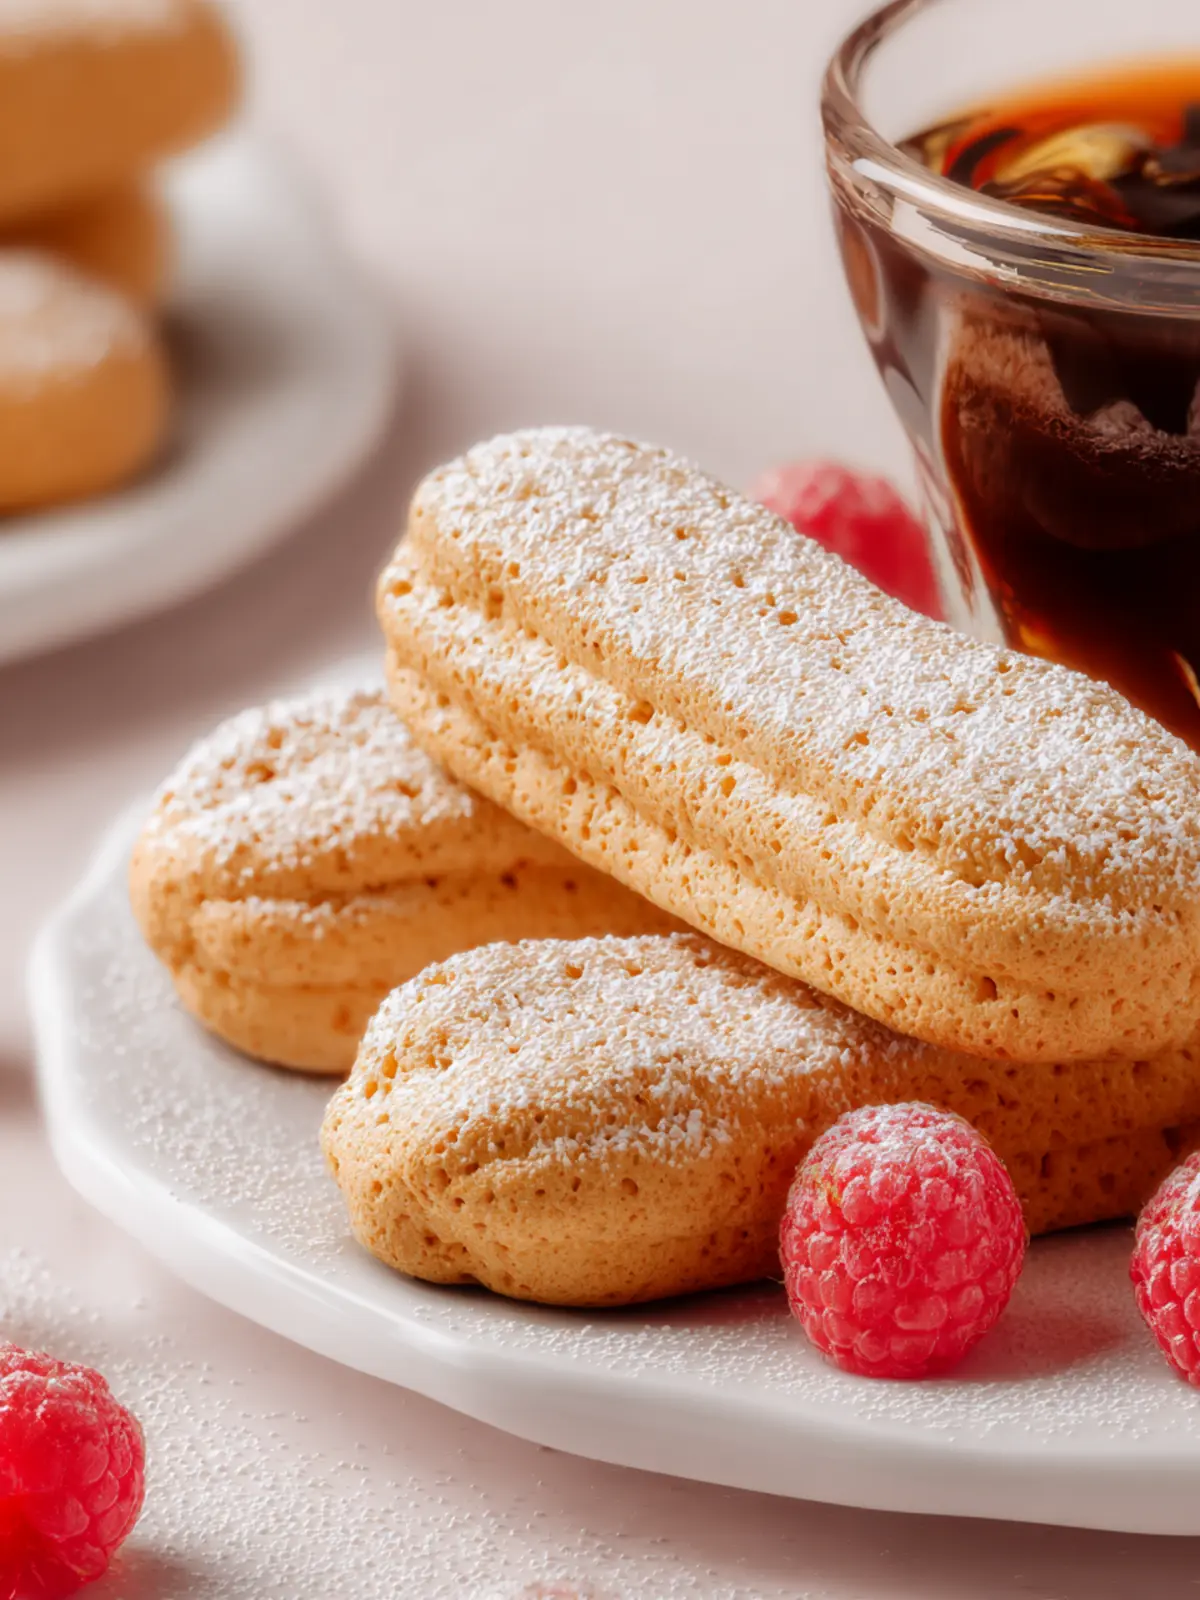
One of the simplest and most satisfying ways to serve gluten free ladyfingers is with a medley of fresh berries. Strawberries, raspberries, and blueberries provide not only vibrant colors but also a refreshing burst of flavor that beautifully complements the sweetness of the ladyfingers. Consider layering them to create an elegant dessert parfait that’s both stunning and delicious.
Pair with Whipped Cream
Whether it’s homemade whipped cream or a dairy-free version, a dollop atop your gluten free ladyfingers adds a luscious texture. For a twist, why not infuse your cream with flavors such as vanilla or almond extract? This small step elevates your dessert from simple to extraordinary.
Create a Tiramisu
Feeling adventurous? Use your gluten free ladyfingers as the base for a classic tiramisu! Layer them with coffee and creamy mascarpone for a gluten-free rendition of this Italian favorite. It’s a show-stopping dessert that will impress your guests and soothe your culinary cravings.
Serve with a Hot Beverage
Don’t forget to consider your drink pairings. A warm cup of espresso or a spiced chai can provide the perfect balance to the sweetness of the gluten free ladyfingers. The contrast of hot and cold will delight your taste buds!
Each serving suggestion adds a unique twist, making your gluten free ladyfingers the star of the show. Whether casual or elegant, they offer versatility that caters to any occasion.
Time Breakdown for Gluten Free Ladyfingers
Creating gluten free ladyfingers at home can be a delightful experience, and knowing how to manage your time effectively makes it even better. Here’s a quick overview to help you plan your baking session.
Preparation time
Getting everything ready for your gluten free ladyfingers takes about 20 minutes. This includes gathering ingredients, measuring, and mixing your batter to perfection.
Baking time
Once you’ve prepared your batter, it’s time to bake! The ladyfingers generally need around 15-20 minutes in the oven, ensuring they achieve that perfect golden color.
Total time
In total, from preparation to pulling your delicious gluten free ladyfingers out of the oven, you’re looking at approximately 40-45 minutes. This time investment will yield a delightful treat that’s well worth the effort. Happy baking!
Nutritional Facts for Gluten Free Ladyfingers
Creating the perfect batch of gluten free ladyfingers goes beyond just the baking process; it’s also about understanding the nutritional benefits they offer. With a delightful balance of textures and flavors, these treats can fit seamlessly into a health-conscious lifestyle.
Calories
A serving of these gluten free ladyfingers contains approximately 100 calories. This makes them a light yet satisfying option for dessert or a snack.
Protein
When it comes to protein, each serving provides about 2 grams. While they aren’t a significant source of protein, pairing them with a rich mascarpone or yogurt can enhance their nutritional profile.
Sodium
In terms of sodium, these gluten free ladyfingers are fairly low, averaging around 30 milligrams per serving. This is a bonus for those monitoring their sodium intake, allowing you to enjoy your treats without guilt.
Understanding these nutritional facts not only helps you enjoy your gluten free ladyfingers but also allows you to make informed choices about your overall diet.
FAQs about Gluten Free Ladyfingers
Making gluten free ladyfingers is a delightful way to enjoy a classic dessert with a modern twist! You might have some questions about how to adapt the recipe or use these delicious cookies. Let’s dive into some common inquiries and clear things up.
Can I make these ladyfingers vegan?
Absolutely! You can easily transform these gluten free ladyfingers into a vegan version. Simply replace the eggs with a flaxseed or chia seed egg by mixing one tablespoon of ground seeds with three tablespoons of water. Let the mixture sit for a few minutes to thicken. Additionally, use a plant-based butter or coconut oil in place of regular butter. By making these swaps, you can whip up a delightful vegan treat without sacrificing flavor or texture.
What desserts can I use gluten free ladyfingers in?
Gluten free ladyfingers are incredibly versatile and can be a key component in various desserts. Some popular uses include:
- Tiramisu: Layer your ladyfingers with coffee and mascarpone for a gluten-free version of this Italian classic.
- Charlotte Cakes: Use them to create charming, molded cakes filled with mousse or fruit.
- Trifles: Elevate your dessert game by layering ladyfingers with custard, fruit, and whipped cream in a stunning glass.
How should I store my ladyfingers?
To keep your gluten free ladyfingers fresh, store them in an airtight container at room temperature for up to three days. If you want to keep them longer, consider freezing them! Just freeze the ladyfingers in a single layer on a baking sheet, then transfer them to an airtight freezer bag. They can last up to three months. When you’re ready to use them, simply thaw and enjoy!
By now, you should feel more equipped to make and enjoy your gluten free ladyfingers, whether you choose to use them in a classic dessert or a modern twist!
Conclusion on Gluten Free Ladyfingers
Creating gluten free ladyfingers may seem daunting, but with the right approach, they can become a delightful staple in your kitchen. Whether for an elegant dessert or an afternoon snack, these delicate treats do not compromise on taste or texture. Experimenting with different flours can elevate your ladyfingers even further, allowing you to tailor them to your preferences. Remember, the joy of baking lies not just in the final product, but in the process itself. So grab your ingredients, invite a friend or family member, and share the delightful experience of baking gluten free ladyfingers together!
Print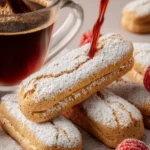
Gluten Free Ladyfingers
- Total Time: 47 minutes
- Yield: 24 ladyfingers 1x
- Diet: Gluten Free
Description
Delicious gluten-free ladyfingers perfect for desserts.
Ingredients
Scale
- 1 cup gluten free all purpose flour with xanthan gum
- ¾ teaspoon baking powder
- ½ teaspoon salt
- 3 large eggs
- ½ cup and 1 tablespoon granulated sugar (divided)
- 1 teaspoon vanilla extract
- Powdered sugar (for dusting)
Instructions
- Preheat your oven to 350°F (163°C) and line two baking trays with parchment paper.
- In a medium bowl, sift together your flour, baking powder, and salt. Set aside for later.
- Separate your egg yolks from the whites and place in separate medium-sized bowls.
- Mix your egg whites with a hand or stand mixer until it reaches soft peaks, then slowly add in half of your sugar and continue to beat until stiff peaks are achieved. Set aside.
- To your yolks, add your vanilla and the other half of the sugar and beat with a hand or stand mixer on medium-high speed until the mixture is pale in color and tripled in volume, about 4-5 minutes.
- Carefully fold in ⅓ of the egg whites into your yolk mixture by creating swooping motions from the bottom of the bowl to the top, being careful not to overmix and lose all the volume you worked hard to create. Once incorporated, add the remaining egg whites and fold until it’s almost all mixed in.
- Add in your flour mixture and carefully fold everything together, using the same swooping motion, just until there are no lumps.
- Once your batter is ready, pour it into a piping bag fitted with a ½ inch round piping tip.
- To your baking sheets lined with parchment, pipe your ladyfingers in neat rows, about 3-4 inches long, making sure to leave about 1-2 inches of space in between the cookies so that they don’t touch as they rise.
- Use a sieve or sifter to lightly dust the tops of the cookies with powdered sugar.
- Place both of the trays in the preheated oven and bake together for 15 minutes. Once done, drop the temperature to 300°F (150°C) for an additional 12 minutes.
- Remove the trays from the oven and allow the cookies to rest until completely cool before enjoying.
Notes
- This recipe yields light and crispy ladyfingers.
- Ensure that the egg whites are beaten to stiff peaks for best results.
- Prep Time: 20 minutes
- Cook Time: 27 minutes
- Category: Dessert
- Method: Baking
- Cuisine: American
Nutrition
- Serving Size: 1 cookie
- Calories: 50
- Sugar: 3g
- Sodium: 50mg
- Fat: 2g
- Saturated Fat: 0g
- Unsaturated Fat: 1g
- Trans Fat: 0g
- Carbohydrates: 8g
- Fiber: 0g
- Protein: 1g
- Cholesterol: 40mg