Follow Me On Social Media!
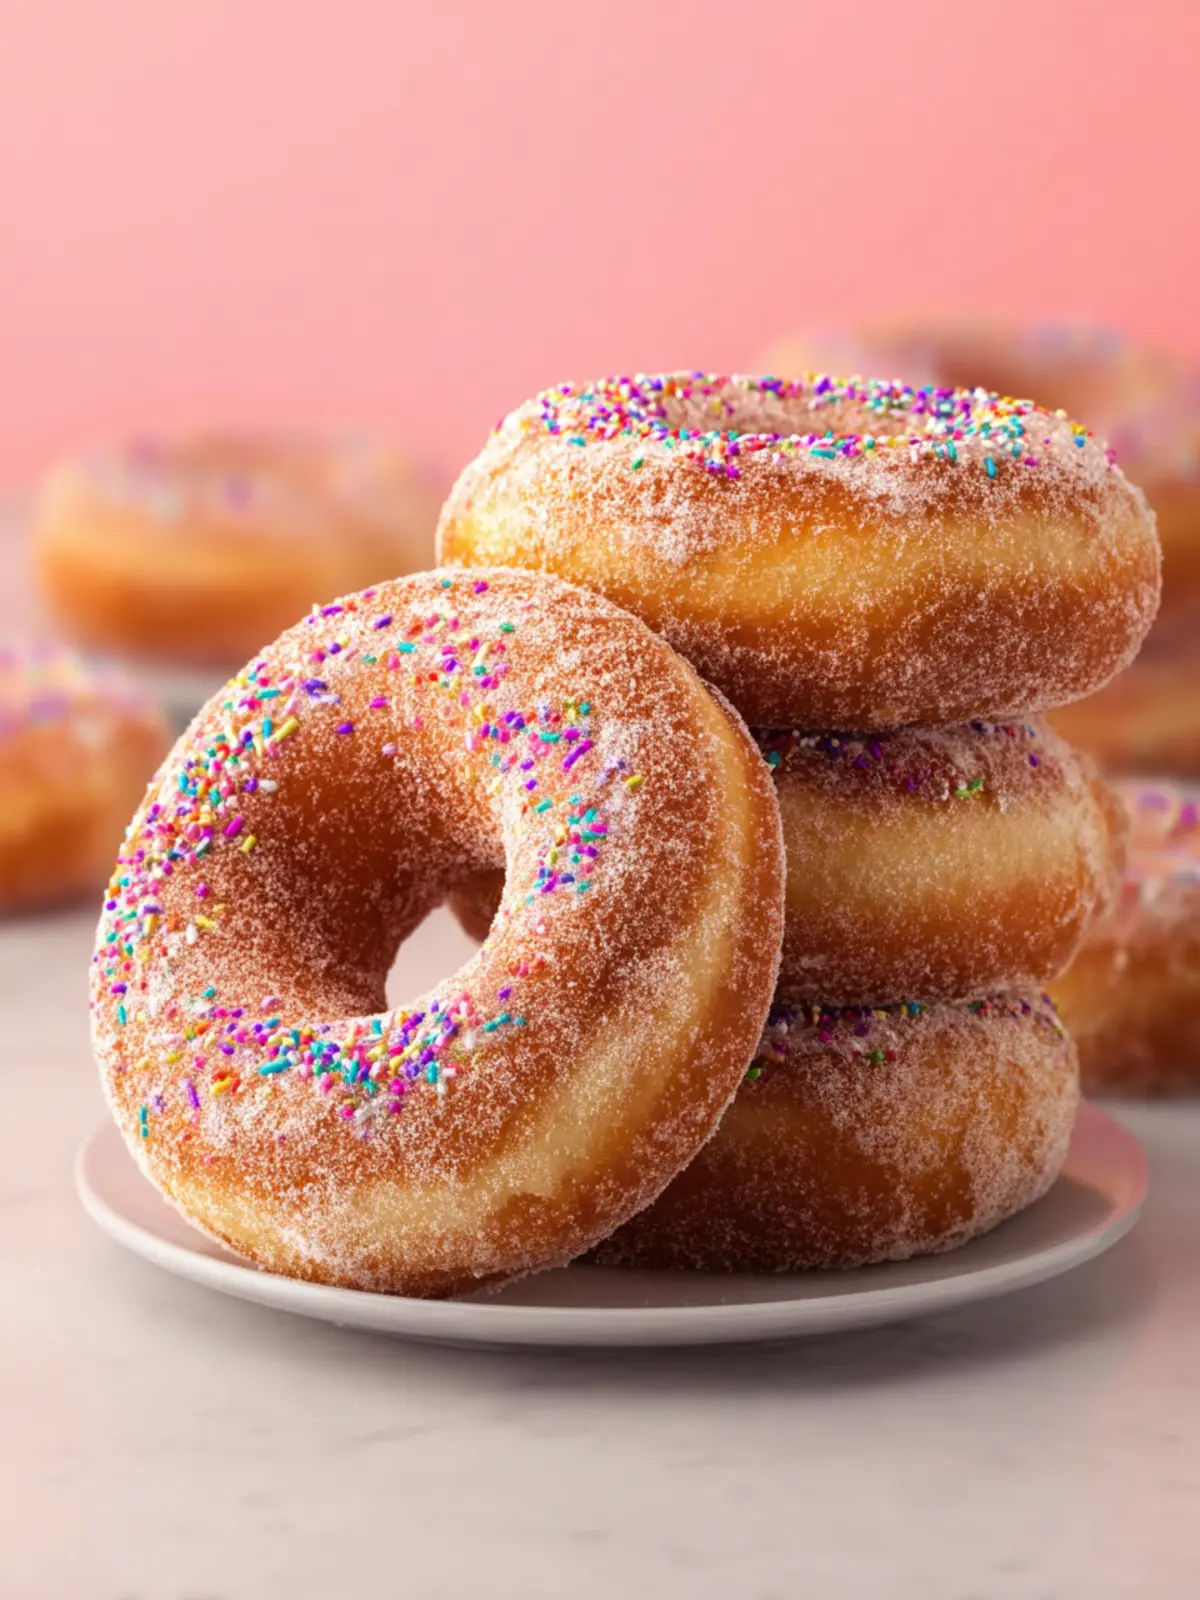
Gluten Free Yeast Donuts: Irresistibly Soft & Sweet Treats
Introduction to Gluten-Free Yeast Donuts
Exploring gluten-free yeast donuts opens a delightful world of flavor and texture, allowing everyone—gluten-sensitive or not—to indulge in a beloved treat. Picture this: it’s Sunday morning, the sun is peeking through the kitchen window, and the irresistible aroma of fresh, warm donuts fills the air. These donuts aren’t just a gluten-free alternative; they are melt-in-your-mouth morsels that everyone will love.
Making the switch to gluten-free doesn’t mean sacrificing flavor or texture. In fact, with the right ingredients and techniques, gluten-free yeast donuts can be every bit as fluffy and delectable as their traditional counterparts. The combination of gluten-free flours and yeast creates a light, airy, and satisfying dough that rises beautifully, promising a delightful bite with every donut.
Embracing Sweetness Without Gluten
Creating gluten-free yeast donuts allows us to enjoy sweet moments without the gluten. This recipe combines the magic of yeast with a blend of gluten-free flours, ensuring that every bite delivers on both softness and taste. The joy of these donuts lies not just in their gluten-free nature but in the happiness they bring to the breakfast table or any occasion.
In crafting these delights, consider the magical fermentation process that yeast offers. As it works its charm, you’ll notice the dough rising and transforming into a pillowy goodness that is sure to impress. When the hot oil bath meets the unassuming dough, you get doughnuts that are fluffy on the inside and golden brown on the outside, with a hint of sweetness in every bite.
Whether you’re baking for yourself, hosting a brunch, or simply treating a friend, gluten-free yeast donuts deliver joy and satisfaction. Let’s dive into the recipe and discover how simple ingredients can create unforgettable moments. Your taste buds are about to experience a bit of magic.
Key Ingredients for Gluten-Free Yeast Donuts
Creating delicious gluten-free yeast donuts starts with selecting the right ingredients. Each element plays a vital role in achieving that perfect texture and flavor.
Gluten-Free Flour Blend: The heart of the recipe! I recommend using a mix that includes a variety of gluten-free flours, like rice flour, almond flour, and tapioca starch. This combination mimics the texture of traditional doughnuts and yields a light, fluffy result.
Yeast: Opt for active dry yeast or instant yeast to ensure proper rising. Yeast is essential for creating that airy structure, giving our donuts a delightful bounce.
Sweetener: Granulated sugar or coconut sugar works well. It not only sweetens the dough but also helps activate the yeast, contributing to that delightful rise.
Dairy or Dairy Alternatives: A little milk (or a non-dairy alternative) is crucial for moistness. It enriches the dough and balances the flavors beautifully.
Eggs: Eggs are the binding agent in this recipe, giving structure while adding richness. They help to achieve that soft and pillowy texture that everyone loves.
With these key ingredients, you’re well on your way to making irresistible gluten-free yeast donuts that everyone can enjoy!
Why You’ll Love These Gluten-Free Yeast Donuts
Life is too short to skip dessert, especially when it comes to gluten-free yeast donuts! Imagine waking up to the warm, sweet aroma of freshly baked donuts that not only satisfy your cravings but also respect your dietary needs. These donuts are fluffy, light, and made with wholesome ingredients that ensure you can indulge without guilt.
-
Perfectly Pillowy Texture: The secret behind these gluten-free yeast donuts lies in the yeast. It creates that irresistible lightness you might think is unattainable in gluten-free baking. The magic happens as the dough rises, turning your treats into airy delights.
-
Flavorful Variations: Think of all the flavored glazes and fillings you can create! Whether you fancy classic vanilla, rich chocolate, or adventurous raspberry, these donuts provide the perfect canvas for your creativity.
-
Community and Connection: Baking these donuts isn’t just about the delicious outcome; it’s about the process. Invite friends over for a weekend baking session and enjoy the laughter and conversations that ensue.
Once you experience the joy of making and sharing these gluten-free yeast donuts, they’ll quickly become a staple in your recipe collection. Enjoy every bite, knowing you’ve created something truly delightful!
Cooking Tips for the Perfect Gluten-Free Yeast Donuts
Crafting decadent gluten-free yeast donuts is an exciting culinary adventure that can transform your mornings into sweet celebrations. Achieving that fluffy, airy donut texture requires a bit of finesse, but trust me; it’s worth every effort!
Choosing the Right Flour
The cornerstone of your donuts lies in the flour. A quality gluten-free blend is essential; look for one with a mix of rice flour, tapioca starch, and potato starch. This combination helps recreate the elasticity that traditional wheat flour provides.
Don’t Skimp on Proofing
Allowing your dough to rise is key to achieving soft, airy gluten-free yeast donuts. After mixing, be patient! Let your dough rest for at least an hour in a warm place until it has doubled in size. This process activates the yeast, giving your donuts that delightful rise.
Monitor Temperature
When it comes to frying, oil temperature is crucial. Heat your oil to around 350°F (175°C). If it’s too hot, your donuts may brown too quickly. If it’s too cold, they’ll absorb too much oil and become greasy. A good kitchen thermometer can be a lifesaver!
Fresh Ingredients Matter
Using fresh yeast and room-temperature ingredients can elevate your gluten-free yeast donuts. Older yeast may struggle to rise, resulting in dense donuts. Always store your yeast in a cool, dry place and check the expiration date.
Remember, practice makes perfect! Don’t be discouraged if your first batch isn’t flawless. With these tips, you’ll be well on your way to mastering the art of crafting irresistible gluten-free yeast donuts.
Time Breakdown for Making Gluten-Free Yeast Donuts
Crafting delightful gluten-free yeast donuts is a rewarding experience that requires patience and a bit of planning. Here’s a handy breakdown to help you organize your time effectively.
Preparation Time
The journey begins with approximately 30 minutes spent gathering ingredients, mixing your dough, and letting it rest for a moment before the magic of proofing begins.
Proofing Time
Next comes the critical phase of 1 hour for proofing. This is when your dough will rise and get that perfect airy texture, a crucial step for achieving fluffy donuts.
Frying Time
Once your donuts are proofed, the frying process takes around 10-15 minutes. You can fry several donuts at once, creating a lovely batch of crispy, golden treats in no time.
Total Time
In total, you’re looking at about 1 hour and 45 minutes for making your homemade gluten-free yeast donuts, which is a small commitment for such a delicious reward! Enjoy the process and the sweet results!
Nutritional Facts for Gluten-Free Yeast Donuts
When it comes to gluten-free yeast donuts, you might wonder just how they stack up nutritionally against their traditional counterparts. These delightful treats are not just indulgent; they offer a surprisingly balanced profile that can fit into a variety of dietary lifestyles.
Calories
One medium gluten-free yeast donut generally contains around 180-220 calories. This makes them a tasty yet moderate choice for a sweet snack or dessert.
Protein
These donuts provide a modest protein boost, typically containing about 2-4 grams per serving. Using high-quality gluten-free flours can enhance this protein content, ensuring you get a little more sustenance in each bite.
Sugar
While sweet, a gluten-free yeast donut typically holds about 8-10 grams of sugar. Being mindful of sugar levels allows you to enjoy this treat without sacrificing your dietary goals.
Incorporating these gluten-free yeast donuts into your meal plan is definitely delicious and doable!
FAQs About Gluten-Free Yeast Donuts
When you dive into the delightful world of gluten-free yeast donuts, you’ll find that there are plenty of questions that pop up—especially if you’re new to the gluten-free baking scene. Let’s address some of the most common queries you might have!
Can I use regular flour instead?
While it might seem tempting to substitute regular flour in your gluten-free yeast donuts, it’s best to stick to gluten-free options. Regular flour contains gluten, which is essential for traditional donuts but not suitable for gluten-free diets. Instead, try using a 1:1 gluten-free flour blend. Many blends are specifically designed to mimic the properties of all-purpose flour, ensuring your donuts turn out light and fluffy.
How do I store leftover donuts?
Storing your gluten-free yeast donuts correctly is key to maintaining their deliciousness. If you have leftovers, let the donuts cool completely, then place them in an airtight container. You can keep them at room temperature for up to two days. For longer storage, consider freezing them. Wrap each donut in plastic wrap and place them in a freezer-safe bag. They’ll last for about a month. When you’re ready to enjoy them, simply thaw at room temperature and reheat briefly in an oven for that fresh-baked taste!
What’s the best frying oil?
For frying your gluten-free yeast donuts, neutral oils with high smoke points are ideal. Options like vegetable oil, canola oil, or peanut oil work exceptionally well. These oils can withstand the high heat needed for frying while letting the natural flavors of the donuts shine through. Avoid using olive oil, as its lower smoke point can lead to unwanted flavors and burnt donuts!
With these FAQs covered, you’re all set to embark on your gluten-free yeast donuts adventure! Happy baking!
Conclusion on Gluten-Free Yeast Donuts
In the journey of perfecting homemade gluten-free yeast donuts, it’s clear that this treat can be both delicious and accommodating to dietary restrictions. Whether you’re indulging in a classic glazed version or experimenting with creative toppings, the options are limitless.
Embrace the joyful process of crafting these donuts; their light, airy texture will win over not only gluten-sensitive friends but anyone with a sweet tooth. As you whip up the dough and enjoy the delightful aroma filling your kitchen, remember that baking is about love and sharing. So, gather your loved ones, serve these treats fresh, and create lasting memories with every bite.
Print
Gluten-Free Donuts
- Total Time: 2 hours 40 minutes
- Yield: 12 donuts 1x
- Diet: Gluten-Free
Description
Delicious gluten-free donuts that are perfect for any occasion.
Ingredients
Scale
- 2½ cups gluten-free flour with xanthan gum (We recommend Pillsbury or Better Batter Brand)
- ¼ cup granulated sugar
- 2 tsp baking powder
- 2 tsp instant yeast (also called rapid rise yeast)
- ½ tsp cream of tartar
- ½ tsp ground nutmeg
- ¼ tsp salt
- ¾ cup whole milk (room temperature or lukewarm)
- 1 large egg
- ¼ cup unsalted butter (melted but not hot)
- vegetable oil (for frying)
- 2 cups confectioners sugar
- ⅓ cup whole milk
- ⅓ cup granulated sugar
- 1 tsp ground cinnamon
Instructions
- In a large bowl, combine gluten-free flour, granulated sugar, baking powder, instant yeast, cream of tartar, nutmeg, and salt. Stir together until well combined.
- Add milk and egg to the flour mixture. Use an electric mixer with a dough hook and knead on low to medium speed for 5 minutes. Use a spatula to blend any dry ingredients that have settled at the bottom of the bowl. Keep kneading with the dough hook for the full 5 minutes, and the dough will start to come together and smooth out.
- Knead the butter in, using the dough hook on low-medium speed, until it is well combined (about 1 minute).
- Spray a medium bowl with non-stick cooking spray and place the dough inside. Cover the bowl with food-safe plastic wrap and put it in the fridge for at least 2 hours. This can also sit overnight in the fridge. Gluten-free flour needs this time to hydrate, so don’t skip this cooled proofing time.
- Line a large baking sheet with parchment paper. Set aside for now.
- Lightly flour your work surface, your rolling pin, and your donut cutter with gluten-free flour, then place your dough on the work surface. Roll the dough out to about ¾” thickness, then use a donut cutter to cut out the donut shapes. The size of the donut cutter I used is 3” in diameter.
- Gently place the raw donuts onto the prepared baking sheet. Space the donuts at least 2 inches from each other. Wrap the baking sheet well with food-safe plastic wrap, then place it in a warm area of your kitchen to rise for 1½ to 2 hours (until about 50% larger in size).
- Heat oil in a pot that’s deep enough to have at least 2 inches in it without spilling over the edges. Oil should be heated to a temperature between 320°F and 330°F (160–166°C). Use a candy thermometer to measure the temperature of the oil.
- While your oil is heating up, prepare your workspace by lining a wire rack with paper towels (to soak up oil after removing the donut from the pot). You’ll also need metal tongs for turning your donuts over while frying, plus a slotted spoon for removing the donut from the oil and placing it on the paper towel to cool.
- If this is your first time deep-frying donuts, start with frying one donut at a time. This will give you a better idea of how long to keep your donut in the oil. At a temperature of 330°F (165℃), I cook the donuts for less than a minute on each side. You’re looking for a golden color but not too brown, as that will lead to a burnt outer layer.
- Use the metal tongs to flip donuts over in the oil during frying.
- Use a slotted spoon to scoop donuts out of the oil and place on the paper towel lined wire rack.
- Let the donuts cool slightly (about 10 minutes) before adding toppings.
- For glazed donuts, stir the confectioner’s sugar and milk together until smooth. Dip donuts as desired (either fully dipping them or just dipping the tops). Add gel food coloring if you like.
- For cinnamon-sugar donuts, stir the sugar and cinnamon together. Dip both sides of the warm donut into the mixture and gently shake off any excess. This needs to be done while the donuts are warm, or the sugar mixture won’t stick.
Notes
- Gluten-free flour needs time to hydrate, do not skip proofing.
- A candy thermometer is essential for perfect frying results.
- Prep Time: 20 minutes
- Cook Time: 20 minutes
- Category: Dessert
- Method: Frying
- Cuisine: American
Nutrition
- Serving Size: 1 donut
- Calories: 210
- Sugar: 10g
- Sodium: 150mg
- Fat: 8g
- Saturated Fat: 4g
- Unsaturated Fat: 2g
- Trans Fat: 0g
- Carbohydrates: 30g
- Fiber: 1g
- Protein: 3g
- Cholesterol: 30mg